
Interactive Whiteboard Wall-Mounting Installation Methods and Precautions
author: toruitech
2025-08-12
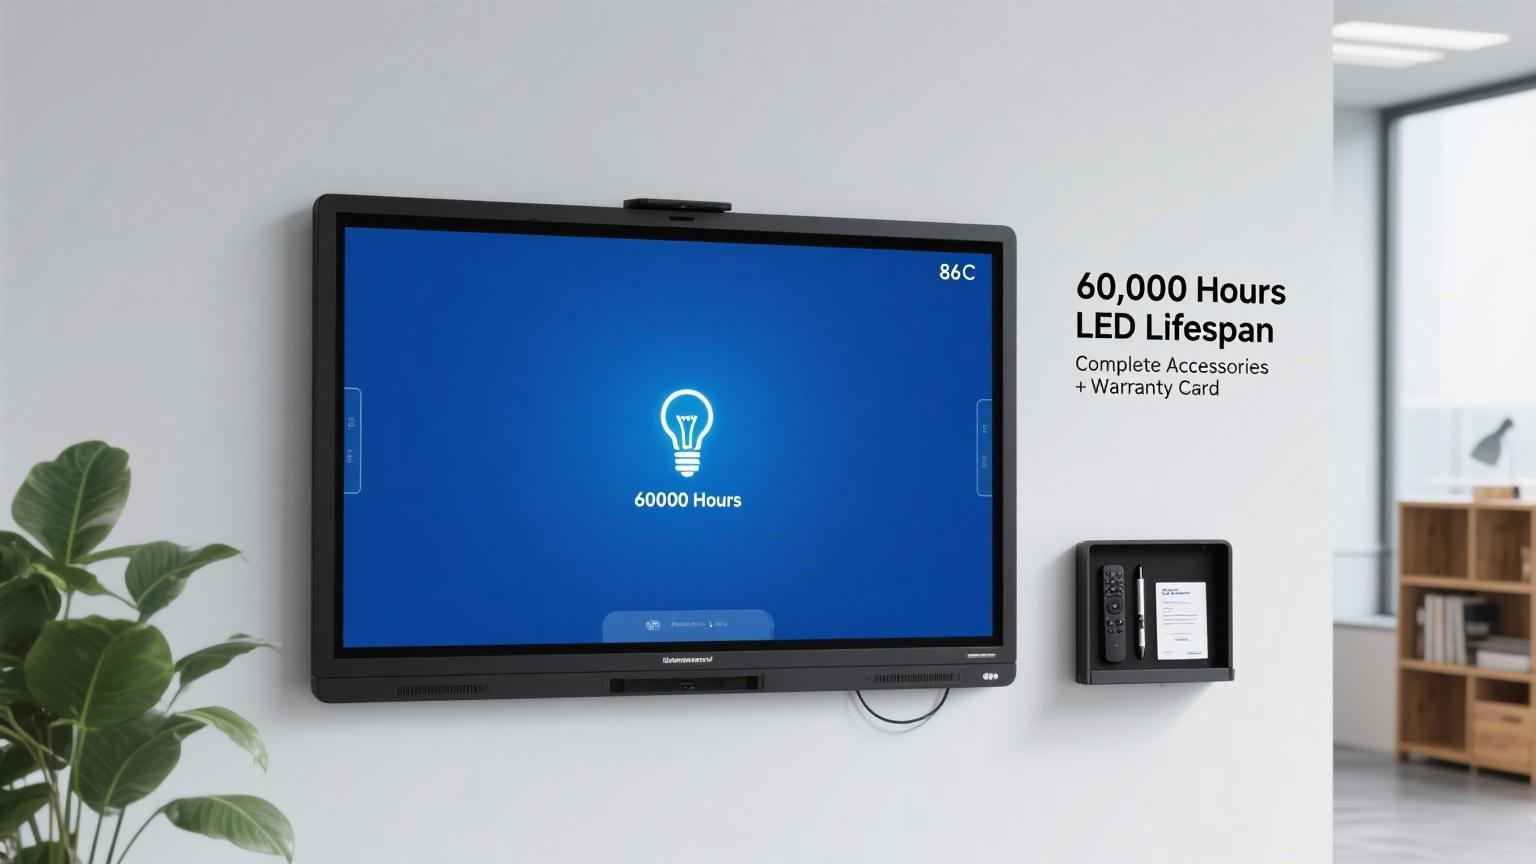
With the prevalence of information-based teaching and smart conferencing, interactive whiteboards have become standard equipment in modern classrooms and conference rooms. Wall-mounting, as the most common and space-saving installation method, allows the whiteboard to be securely fixed to the wall, making it easy to use and manage. The following details the steps and precautions for wall-mounting an interactive whiteboard.
1. Pre-Installation Preparation
Before wall-mounting, first select a suitable mounting surface. It is recommended to choose a sturdy, flat wall that can support the weight of the whiteboard and protect it from moisture, smoke, and direct sunlight to prevent damage. Before installation, you will also need tools such as expansion screws, hangers, a screwdriver, and an electric drill.
2. Wall-Mounting Steps
Measure and Mark
Based on the size of the interactive whiteboard, measure the mounting height and left-right position. It is generally recommended that the bottom edge of the whiteboard be approximately 80-90 cm from the ground to facilitate standing writing and viewing. Use a pencil to mark the drilling locations for the expansion screws on the wall.
Securing the hangers
Use an electric drill to drill holes at the marked locations and insert the expansion screws. Secure the wall mount with screws, ensuring it is secure and does not move.
Mounting the Whiteboard
Hang the interactive whiteboard onto the wall mount and adjust it to a level position. Some whiteboards have limit locks or fastening bolts; these must be checked and tightened to prevent the whiteboard from slipping or shaking.
Connecting the Data Cable
Depending on the whiteboard model, a dedicated USB-to-RS-232 cable is usually required to connect the whiteboard to a computer's USB port for data transmission and power. It is recommended that the device be powered off during connection for safety reasons.
Installing the Electronic Pen
If the whiteboard comes with a dedicated electronic pen, install the batteries according to the instructions and test the pen's functionality.
Driver and Software Installation
For first-time use, install the interactive whiteboard driver and accompanying software on your computer. Insert the installation disc and follow the prompts to complete the driver and software installation, ensuring that the computer recognizes the whiteboard hardware.
III. Post-Installation Debugging and Use
After installation, start the computer and projector, and adjust the projection image to cover the entire whiteboard area. Run the whiteboard alignment program and follow the on-screen instructions to click the alignment points with your finger or the electronic pen to complete calibration. The interactive whiteboard is now ready for normal use, enabling various functions such as writing, annotation, and interaction.
IV. Precautions
During installation, ensure that the whiteboard is level with the wall to avoid tilting that could affect the user experience.
If the wall is made of metal or magnetic materials, it is recommended that the whiteboard be at least 10 cm away from the wall to prevent signal interference.
After installation, regularly check the mounting brackets and screws for looseness to ensure safety.
Proper wall-mounting ensures that the interactive whiteboard not only looks neat and beautiful, but also effectively improves teaching and meeting efficiency, providing strong support for modern information-based environments.
Mobile Floor-Stand Installation Methods and Application Advantages of Interactive Whiteboards
Interactive Whiteboard Maintenance and Repair
Related Article
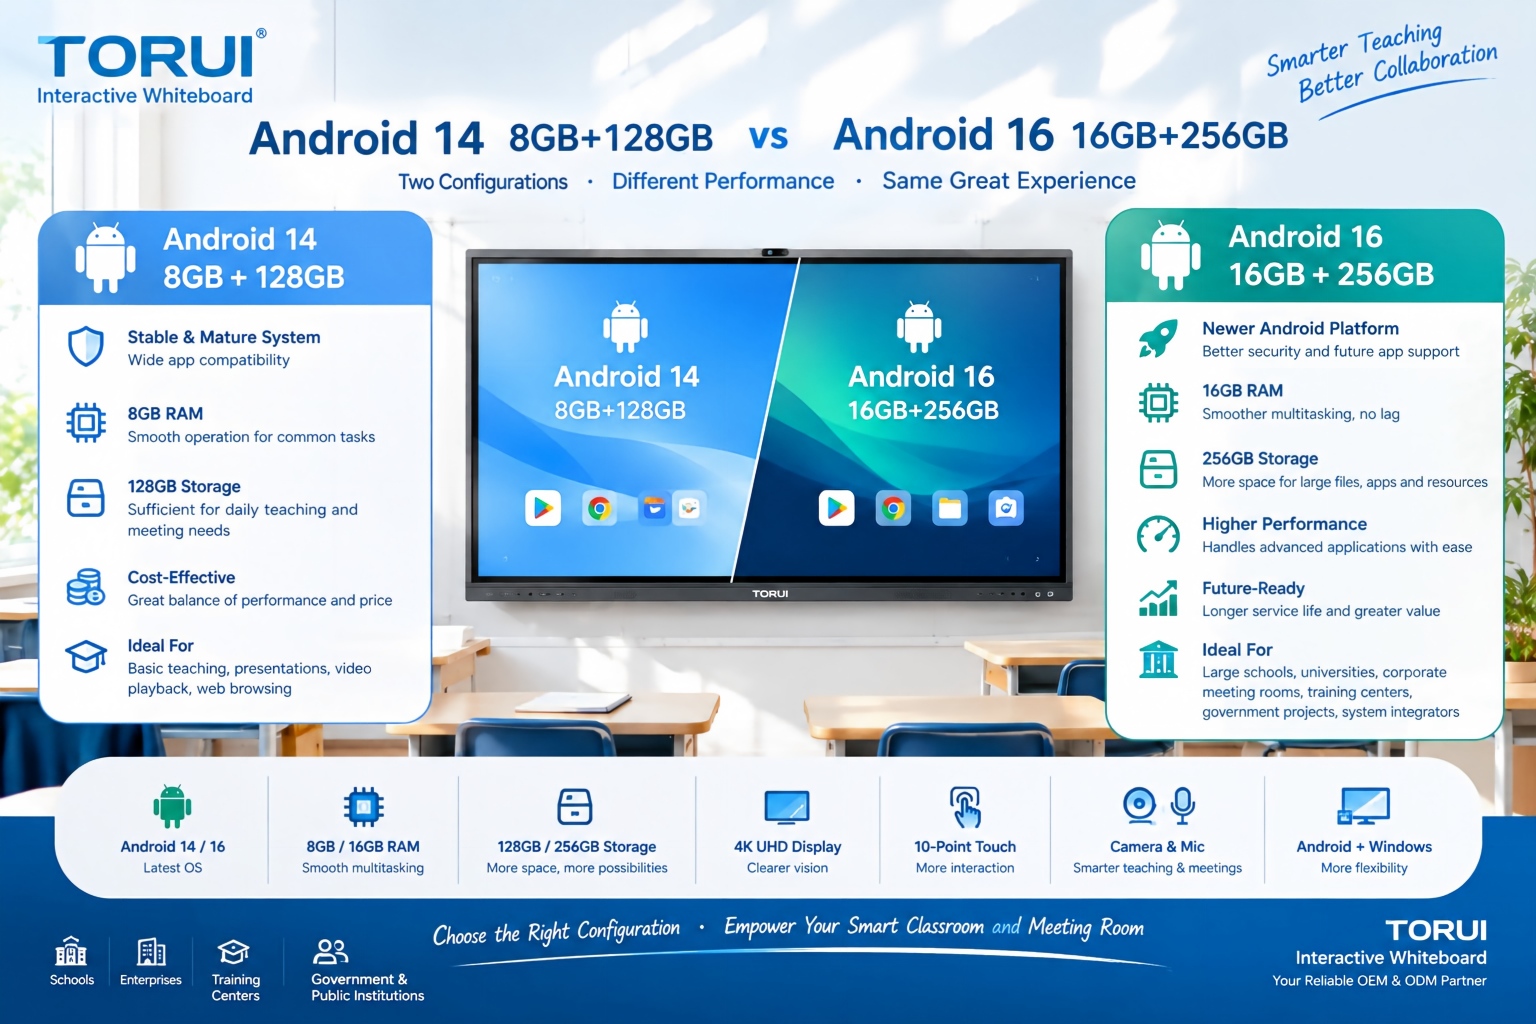
When choosing an interactive whiteboard for a school, training center, meeting room, or commercial project, the Android version and hardware configuration can significantly affect user experience. Two common configurations are Android 14 with 8GB RAM and 128GB storage and Android 16 with 16GB RAM and 256GB storage.
Android 14 8GB+128GB vs Android 16 16GB+256GB: Which Interactive Whiteboard Is Better?

Buying an interactive whiteboard is not simply about choosing the right screen size, resolution, or operating system. For B2B buyers, distributors, system integrators, schools, and corporate procurement teams, quality control is one of the most important factors affecting long-term reliability, user experience, warranty costs, and customer satisfaction.
Interactive Whiteboard Quality Control: What Should Buyers Check?
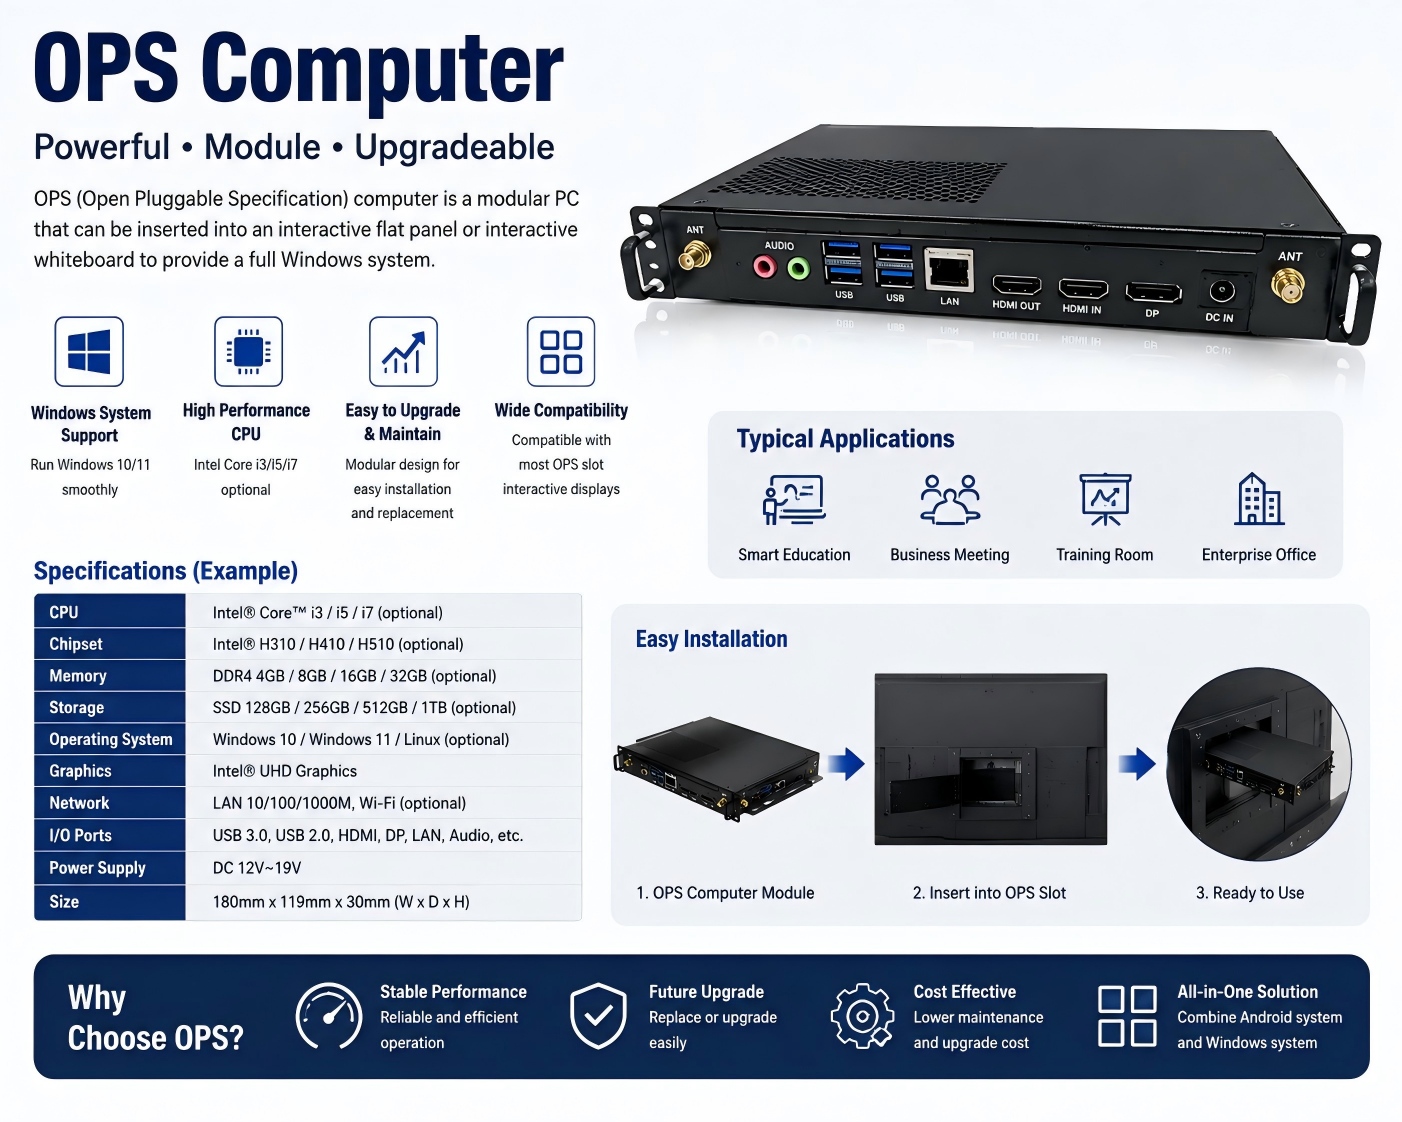
An OPS computer for an interactive whiteboard is a modular plug-in PC designed to add Windows-based computing power to an interactive display. OPS stands for Open Pluggable Specification, a standardized form factor originally developed for commercial interactive displays.
What Is an OPS Computer for Interactive Whiteboards?

Choosing the right chipset is an important decision when sourcing an interactive whiteboard for schools, conference rooms, training centers, government projects, or commercial applications. Among Rockchip platforms, RK3588 and RK3576 are two powerful options for modern Android interactive displays.
RK3588 vs RK3576: Which Chip Is Better for Interactive Whiteboards?